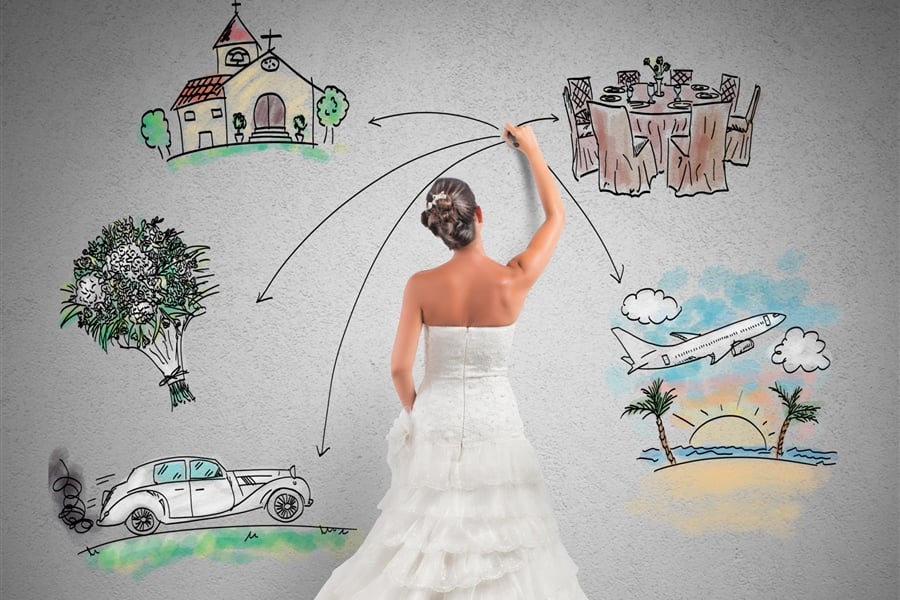
Planning your wedding is an exciting journey, and one of the most important aspects is ensuring that your special day is captured exactly as you envision it. Enter the mood board – a powerful tool that can bridge the gap between your dreams and your photographer’s lens. Here’s how to create a mood board that will help your wedding photographer understand and execute your vision flawlessly.
Why Create a Mood Board?
A mood board is a visual representation of your wedding photography style, preferences, and overall vibe. It serves several crucial purposes:
1. Clear Communication:
It provides a visual reference that can convey ideas more effectively than words alone.
2. Style Alignment:
Ensures that you and your photographer are on the same page regarding the look and feel of your photos.
3. Inspiration Source:
Acts as a creative springboard for your photographer to build upon.
4. Consistency:
Helps maintain a cohesive visual style throughout your wedding album.
Steps to Create Your Perfect Mood Board
1. Define Your Style
Before you start collecting images, take some time to reflect on your wedding style. Are you going for romantic and ethereal, modern and minimalist, or perhaps rustic and vintage? Your overall wedding theme should inform your photography style.
2. Gather Inspiration
Start collecting images that resonate with you. Sources can include:
- Wedding magazines
- Pinterest boards
- Instagram feeds of wedding photographers and planners
- Wedding blogs and websites
Don’t limit yourself to just wedding photos. Include images that capture the colours, textures, and emotions you want to see in your pictures.
3. Organise Your Ideas
Group your collected images into categories such as:
- Couple portraits
- Ceremony shots
- Reception moments
- Detail photos (rings, flowers, decor)
- Group photos
This organisation will help you ensure you're covering all aspects of your wedding day.
4. Look for Patterns
As you collect images, you'll likely notice recurring themes or elements. These could be:
- Colour palettes
- Lighting styles (bright and airy, dark and moody)
- Composition techniques
- Poses or interactions
Identifying these patterns will help you articulate what you love about certain images.
5. Create Your Board
You can create a physical board using printed images and a cork board, or use digital tools like Pinterest, Canva, or even a simple PowerPoint presentation. Arrange your chosen images in a way that tells a visual story of your desired wedding photography style.
6. Add Notes Accompany your images with brief notes explaining what you love about each photo. This could be the lighting, the pose, the emotion captured, or any other element that stands out to you.
7. Include What You Don’t Want
It can be equally helpful to include a few examples of styles or shots you want to avoid. This negative guidance can be just as valuable to your photographer.
8. Share and Discuss
Once your mood board is complete, share it with your photographer well before the wedding day. Schedule a time to go through it together, allowing them to ask questions and offer professional insights.
Tips for Success
- Be Realistic: Ensure your vision aligns with your venue, season, and timeline.
- Trust Your Photographer: Use the mood board as a guide, but allow room for their creativity and expertise.
- Keep It Focused: Aim for quality over quantity. A concise, well-curated mood board is more effective than an overwhelming collection of images.
- Update As Needed: As your wedding plans evolve, don’t hesitate to refine your mood board.
Creating a mood board is an enjoyable and valuable part of the wedding planning process. It not only helps your photographer capture your vision but also allows you to crystallise your own ideas about how you want your special day to be remembered. With this visual guide in hand, you're one step closer to wedding photos that will take your breath away for years to come.
Check out our amazing Photographers right HERE📸